
The Prom Glow Guide: Your Ultimate Strategy for a Flawless, Safe and Zero-Transfer Tan ✨
Well it’s getting close. Prom is officially on the horizon! You're dreaming of showing up glowing like a sun-kissed goddess, right? But hold up – before you even think about chasing that bronze, we should talk strategy.
This isn't just about looking good; it's about looking amazing safely, without turning orange, getting streaky, or, heaven forbid, staining your gorgeous outfit. This is your definitive, expert-level guide to nailing that prom glow-up, specifically for all our high school legends.

Executive Summary: Your Prom Glow Blueprint – No Cheating!
Getting that perfect bronzed look for your big night means one thing: sunless tanning only. Seriously, this isn't negotiable. Medical pros are super clear: UV tanning (sunbeds or excessive sunbathing) is a hard pass for anyone under 18.
So, we’re ditching the danger and leaning into the magic of safe, topical products that use something called Dihydroxyacetone (DHA).
We’re talking two main pathways here: hitting up a pro for a Professional Spray Tan or mastering the DIY Self-Tanner game at home. But no matter which you pick, the TIMING is EVERYTHING. Mark it down, tattoo it on your brain: your tan needs to go on two to three days before prom.
This golden rule lets the colour fully chill out, develop beautifully, and lets any temporary guide color wash away, so you're left with a natural, streak-free glow that won't smudge onto your dress.
And speaking of dresses – especially those dreamy light-coloured or white ones – we’ve got major intel on preventing any pigment transfer. Think meticulous prep, smart product choices (hello, clear formulas!), and a secret weapon for prom night. Let’s get glowing, safely!
Keeping It Safe : Things You NEED to Know
Before we dive into the fun stuff, let's talk real talk about why sunless is the only way to go for prom.
A. Tanning Beds? Absolutely NOT 🚫
Listen up: In the US, using commercial sunbeds if you're under 18 is straight-up illegal in most states. Salons can get slapped with massive fines if they let minors near them. So, scratch that off your list right now.
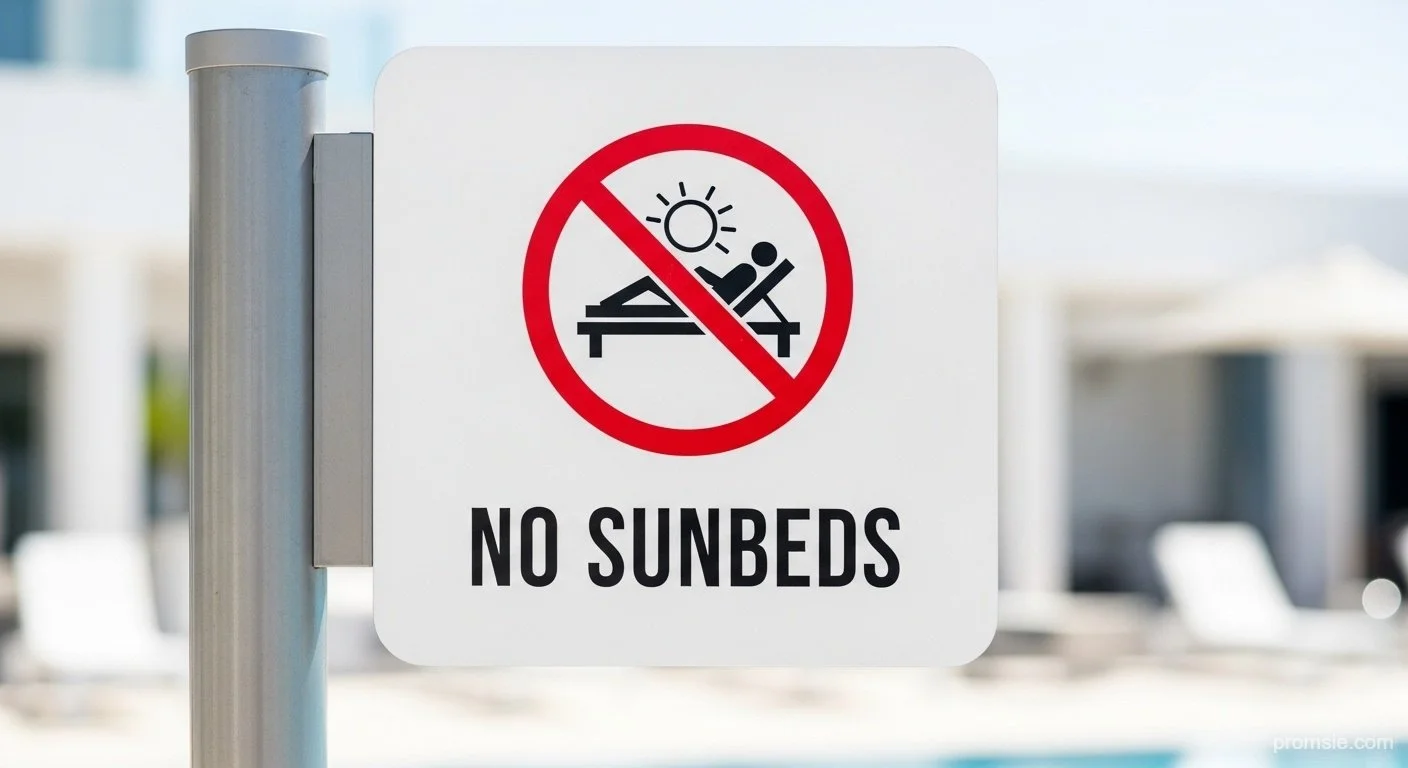
Why all the fuss? Because UV tanning beds blast your skin with seriously intense UVA radiation. This isn't just a "little bit" of sun; it's concentrated damage that skyrockets your risk of skin cancers like basal cell carcinoma, squamous cell carcinoma, and worst of all, melanoma. And for young skin, the risk is even higher.
Studies show young women who've used indoor tanning can be six times more likely to get melanoma in their 20s. We're talking long-term health, not just a temporary glow. So, no drama, no danger – we stick to DHA.
Even if you're tempted to just "catch some sun," remember UV levels are no joke. Always, always, ALWAYS slap on broad-spectrum SPF 30+ 15-30 minutes before heading out, and reapply every two hours. Your skin will thank you later!
B. The Magic of Sunless: How DHA Works Its Charm
So, if UV is out, how do we get tanned? Say hello to Dihydroxyacetone (DHA)! This genius ingredient is a colorless sugar that reacts with the top, outermost layer of your skin (aka the dead skin cells that are constantly shedding).
It creates a temporary, harmless brown pigment – totally different from a real sun tan. It doesn't mess with your deeper skin layers or melanin production.

Basically, it's a surface-level makeover that fades naturally as your skin renews itself over 3-7 days. Safe, effective, and totally prom-ready!
Your Prom Tan Pathway: Pro or DIY?
Deciding between a professional spray tan and a DIY self-tan depends on your budget, time, and how confident you are with application. Both rock, but in different ways.
A. Pro Spray Tan: The Ultimate "Trust the Process" Move
For big events like prom, a professional spray tan is your cheat code for a flawless, streak-free, and super custom glow. Seriously, these pros are artists! They know how to get every nook and cranny, handle tricky spots like hands and feet, and mix up the perfect shade just for your skin tone. Plus, many salons use premium, good-for-you products.
You'll find loads of great spots all across the country. And guess what? Student discounts are often a thing! You can snag a basic tan for around $30 (show that ID!), with deluxe or specialized options going for $40-$50. Some even offer "Double Wear" or "Fitness Tans" designed to dry super fast and resist sweat – perfect for dancing the night away!
Student/Single Coat: Approx. $30 (Show your ID!)
Deluxe Full Body: Approx. $40-$50
Specialised (e.g., Sweat-Resistant): Approx. $40-$50
THE GOLDEN RULE, REPEATED: Your professional spray tan needs to be booked 2-3 days BEFORE prom. This is non-negotiable! It gives the colour time to settle and ensures all that initial guide color is washed off, leaving you with pure, natural bronze.
B. DIY Self-Tanning: Your Budget-Friendly, Control-Freak Option
If you're confident with your blending skills and want to save some cash, DIY self-tanning is your jam. Modern formulas are legit amazing, so you can totally get a salon-worthy glow at home.
NZ shelves are stacked with awesome DHA products:
Mousse/Foam: Super popular for full-body coverage (think Bondi Sands, Loving Tan). Prices range from budget-friendly ($25 for Bondi Sands) to premium ($69-$75 for Loving Tan Express Mousse). While affordable options last, higher-end ones often give a richer, more beautiful colour – definitely something to consider for prom!
Tanning Drops: These are genius! Just add them to your fave body lotion or face moisturizer for custom color intensity (e.g., Tuscan Tan Drops, Coco & Eve Face Drops). Great for blending on your face. Prices usually $25-$45.
Lotions & Gradual Tanners: Perfect if you have dry skin or are a newbie. They build color gently over days, awesome for a subtle glow or maintaining your tan post-prom.
Heads up: DIY takes time! You'll need a few hours for prep, application, blending, and drying. Stick to the full 48-hour protocol for pro-level results.
Pre-Tan Prep: Your Canvas Needs to Be FLAWLESS
Seriously, your tan will only look as good as your skin prep. Skimping here is how you end up with streaks, patches, or that dreaded orange vibe.
A. Exfoliation (48 Hours Before)
This is a MUST. Exfoliating creates a super smooth, fresh canvas for your tan. Why? Because DHA loves to cling to dry, dead skin cells, calluses, and rough patches, making them super dark or even orange. By scrubbing these off, you ensure an even, natural tan.

Do this 24-48 hours before you plan to tan. Grab an exfoliating mitt or a body scrub (Bondi Sands Sea Salt & Coconut Scrub is great!) and use gentle, circular motions, focusing on tricky spots like knees, elbows, ankles, and feet.
Grooming Alert: Shave or wax at least 24 hours before tanning. This lets your pores close up and avoids irritation. NEVER shave after your tan – it’ll strip the colour!
B. Hydration Barrier: Your Secret Weapon for Tricky Spots
Even with exfoliation, some areas (elbows, knees, ankles, feet, hands) are naturally drier and absorb more product, turning them too dark.
To fix this, right before you tan, put a tiny bit of oil-free moisturiser (like Bondi Sands Body Moisturiser) only on these high-absorption zones. It acts like a shield, slowing down how much DHA these spots soak up. This means no dark knuckles or knees!
Crucial tip: DO NOT put moisturiser, deodorant, or makeup anywhere else on your body right before tanning. These can block the DHA and give you patchy results.
Here’s your quick checklist:
48 Hours Before: Shave/Wax (let skin recover!)
24 Hours Before: Intense Full-Body Exfoliation (get rid of those dead skin cells!)
Day of Tan: Skip Makeup/Deodorant/Moisturizer (except those barrier spots!)
Immediately Before: Light, oil-free moisturiser on knees, hands, elbows, feet (your dry zones!)
Application Deep Dive: Technique and Product Power
Okay, canvas prepped, now for the art of tanning!
A. Picking Your Shade: No Orange Zone!
Choosing the wrong shade is the #1 reason people look unnatural or orange.
DHA Concentration: Fair skin? Do NOT go for "ultra-dark" formulas right away. Your skin can only absorb so much DHA. Too much on light skin equals saturated, muddy, or orange. Build up your colour gradually with lighter/medium formulas instead. If you have naturally deeper skin, go for darker shades, as many tanners are calibrated for pale skin.
Colour-Correcting Undertones: This is advanced stuff that will make you look like a pro!
Violet Base: If your skin has yellow/warm undertones, violet cancels out brassiness, giving you a rich brown.
Green Base: If you have pink/red/cool undertones, green neutralizes redness for a deeper, natural brown.
Brown/Red Base: Generally universal or for enhancing deeper complexions.
Do a patch test first to see how it looks on your skin!
B. DIY Mastery: Foams, Mitts, and Brushes
For mousses or foams, always pump product onto a clean tanning mitt. Apply in small, overlapping circular motions for seamless coverage. Start from your ankles and work your way up to your legs, torso, then arms. This lets the lower body dry a bit without getting creased when you bend over.
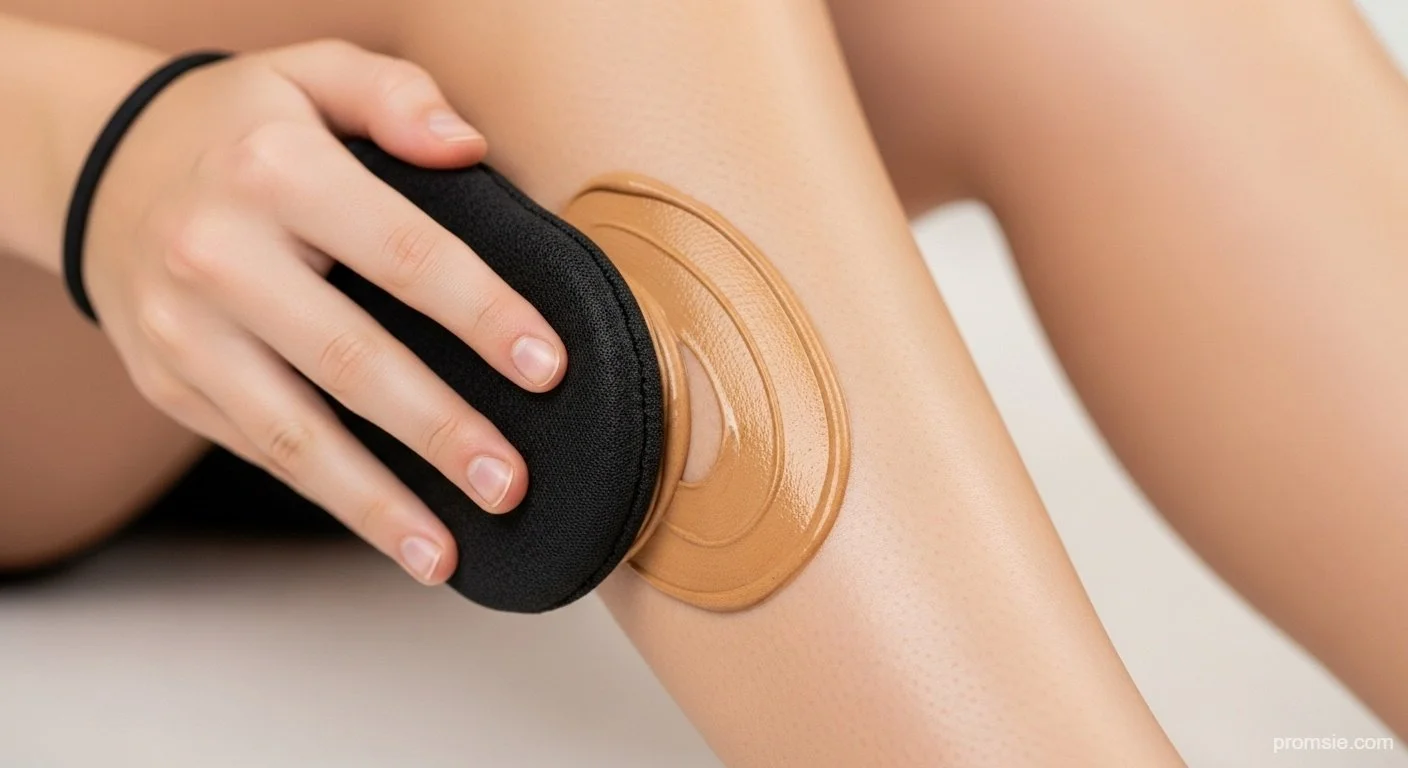
Hands, Feet, Wrists: Use a makeup brush (like a 'tanbuki') with minimal product. Lightly buff it over the tops of your hands, fingers (avoiding nails!), and wrists. Less is more here!
Face: Best to use dedicated tanning drops mixed into your moisturiser. If using body tanner, blend a tiny bit carefully onto your face, hairline, and ears, then WASH YOUR HANDS IMMEDIATELY!
Remember, DHA develops over hours. A lighter glow might be ready to rinse after 90 mins; for deepest colour, leave it overnight. Don't rush or over-layer!
C. Favourites: What's the Hype?
Loving Tan: The splurge-worthy, premium choice. Users rave about its rich, deep colour and quick development (hello, 2HR Express Mousse!).
Bondi Sands: Your versatile and accessible. Known for lasting 7-8 days, fading evenly, and offering cool options like Technicolor (for undertone correction) and Pure (zero transfer!).
Gradual Tanners/Lotions: Perfect for nervous newbies or for topping up your glow after prom. Super gentle.
Heads up on clear formulas: While amazing for zero transfer, some clear sprays can be messy or pricey. Stick to reputable brands like Bondi Sands Pure for a reliable, no-mess option.
Prom Night Protocol: Zero Transfer, Max Glow!
This is it – the final boss level. Protecting your gorgeous outfit from any tan transfer is KEY.
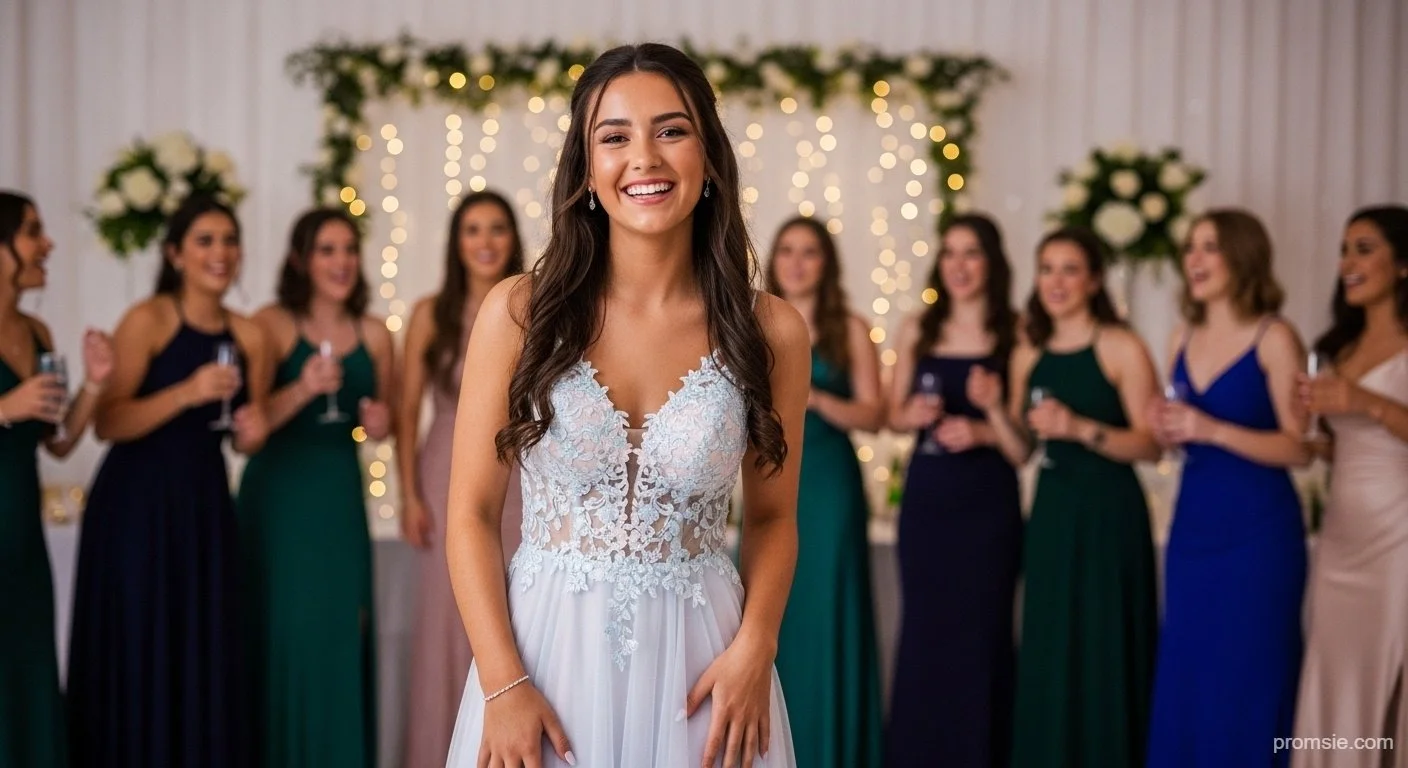
A. The White Dress Challenge: Clear Formulas to the Rescue!
Most self-tanners have a "guide colour" – that instant bronze tint that helps you see where you're applying. But this temporary pigment is notorious for staining clothes, especially with sweat.
To totally avoid disaster with a light-coloured dress, you HAVE to either ensure your tan has fully settled and been rinsed off 2-3 days prior OR, even better, use a clear/colourless self-tanner with no guide colour. These only contain DHA, so they develop on your skin without leaving any pigment on fabric. The Bondi Sands Pure Self Tanning Sleep Mask is a total win for this – it’s a clear lotion that won't stain your sheets! Some pro salons also offer "DOUBLE WEAR" or "FITNESS TAN" options designed to resist transfer.

B. Post-Development Protocols & The Baby Powder Hack!
Even if you followed the 2-3 day rule and rinsed off the guide colour, prom night means dancing and maybe a little sweat. This can still lift your developed DHA colour and mark your dress.
Your secret weapon for prom night: the baby powder hack! Lightly dust your fully developed tan with baby powder (using a big makeup brush) on all those high-friction, sweaty areas – inner elbows, inner thighs, underarms, collarbones. The powder soaks up moisture, stopping the tan from lifting and transferring. Plus, it banishes any lingering stickiness!
Before and during your tan development, always wear dark, loose-fitting clothes. Tight clothes can smudge your tan!
C. Aftercare for Longevity: Keep That Glow Going!
Want that prom glow to last? Hydration is your best friend.
Moisturise daily with an oil-free lotion. This keeps your skin plump and prevents those pigmented cells from shedding too fast.
Take short, gentle showers with mild water. Hot water and harsh scrubbing are glow-killers!
Gently pat your skin dry after showering, don't rub.
If you want to stretch your tan past a week, gradual tanning lotions can give it a little boost. When it's time for a fresh application, gently exfoliate only the patchy spots before doing a full removal and reapplication.
Conclusions & Recommendations: Your Flawless Prom Finale!
Getting that stunning prom tan is totally doable, as long as you play by the rules: safety first, perfect timing, and killer prep.
Here’s your final mic drop for the perfect prom tan:
Safety is Non-Negotiable: Ditch the sunbeds. DHA sunless tanning is your only safe path to glow.
Timing is EVERYTHING: Tan 2-3 days before prom. No exceptions!
Prep is Power: Exfoliate like your life depends on it 48 hours prior, and spot-moisturise those dry zones right before tanning. This prevents orange patches and streaks.
Zero-Transfer is the Goal: If you’re rocking a light dress, use a clear/colourless self-tanner or a pro transfer-resistant formula. And ABSOLUTELY use the baby powder hack on prom night to prevent stains!
Action Plan for Your Ultimate Glow-Up:
For Max Confidence: Book a pro spray tan 48 hours before prom. Ask about student discounts (single session prices can range from $25 for a basic booth tan to $45-$65 for a custom airbrush tan). Inquire about a 'Rapid Rinse' or 'Express Tan' option if you need to shower sooner, or ask for a 'Fitness' or 'Anti-Aging' formula if you need extra protection against transfer or sweat.
For DIY Pros: Invest in a premium product (like Loving Tan) for that superior, rich color. And be smart about undertones – violet for yellow skin, green for red skin!
Essential Kit: Whether pro or DIY, you NEED a dedicated tanning mitt and a blending makeup brush for those tricky hands and feet.
Prom Night Peace of Mind: Every single one of you wearing a light-coloured dress needs to deploy the baby powder barrier technique just before getting dressed. Seriously, it's a game-changer!
You've got this, superstars! Rock prom night! ✨